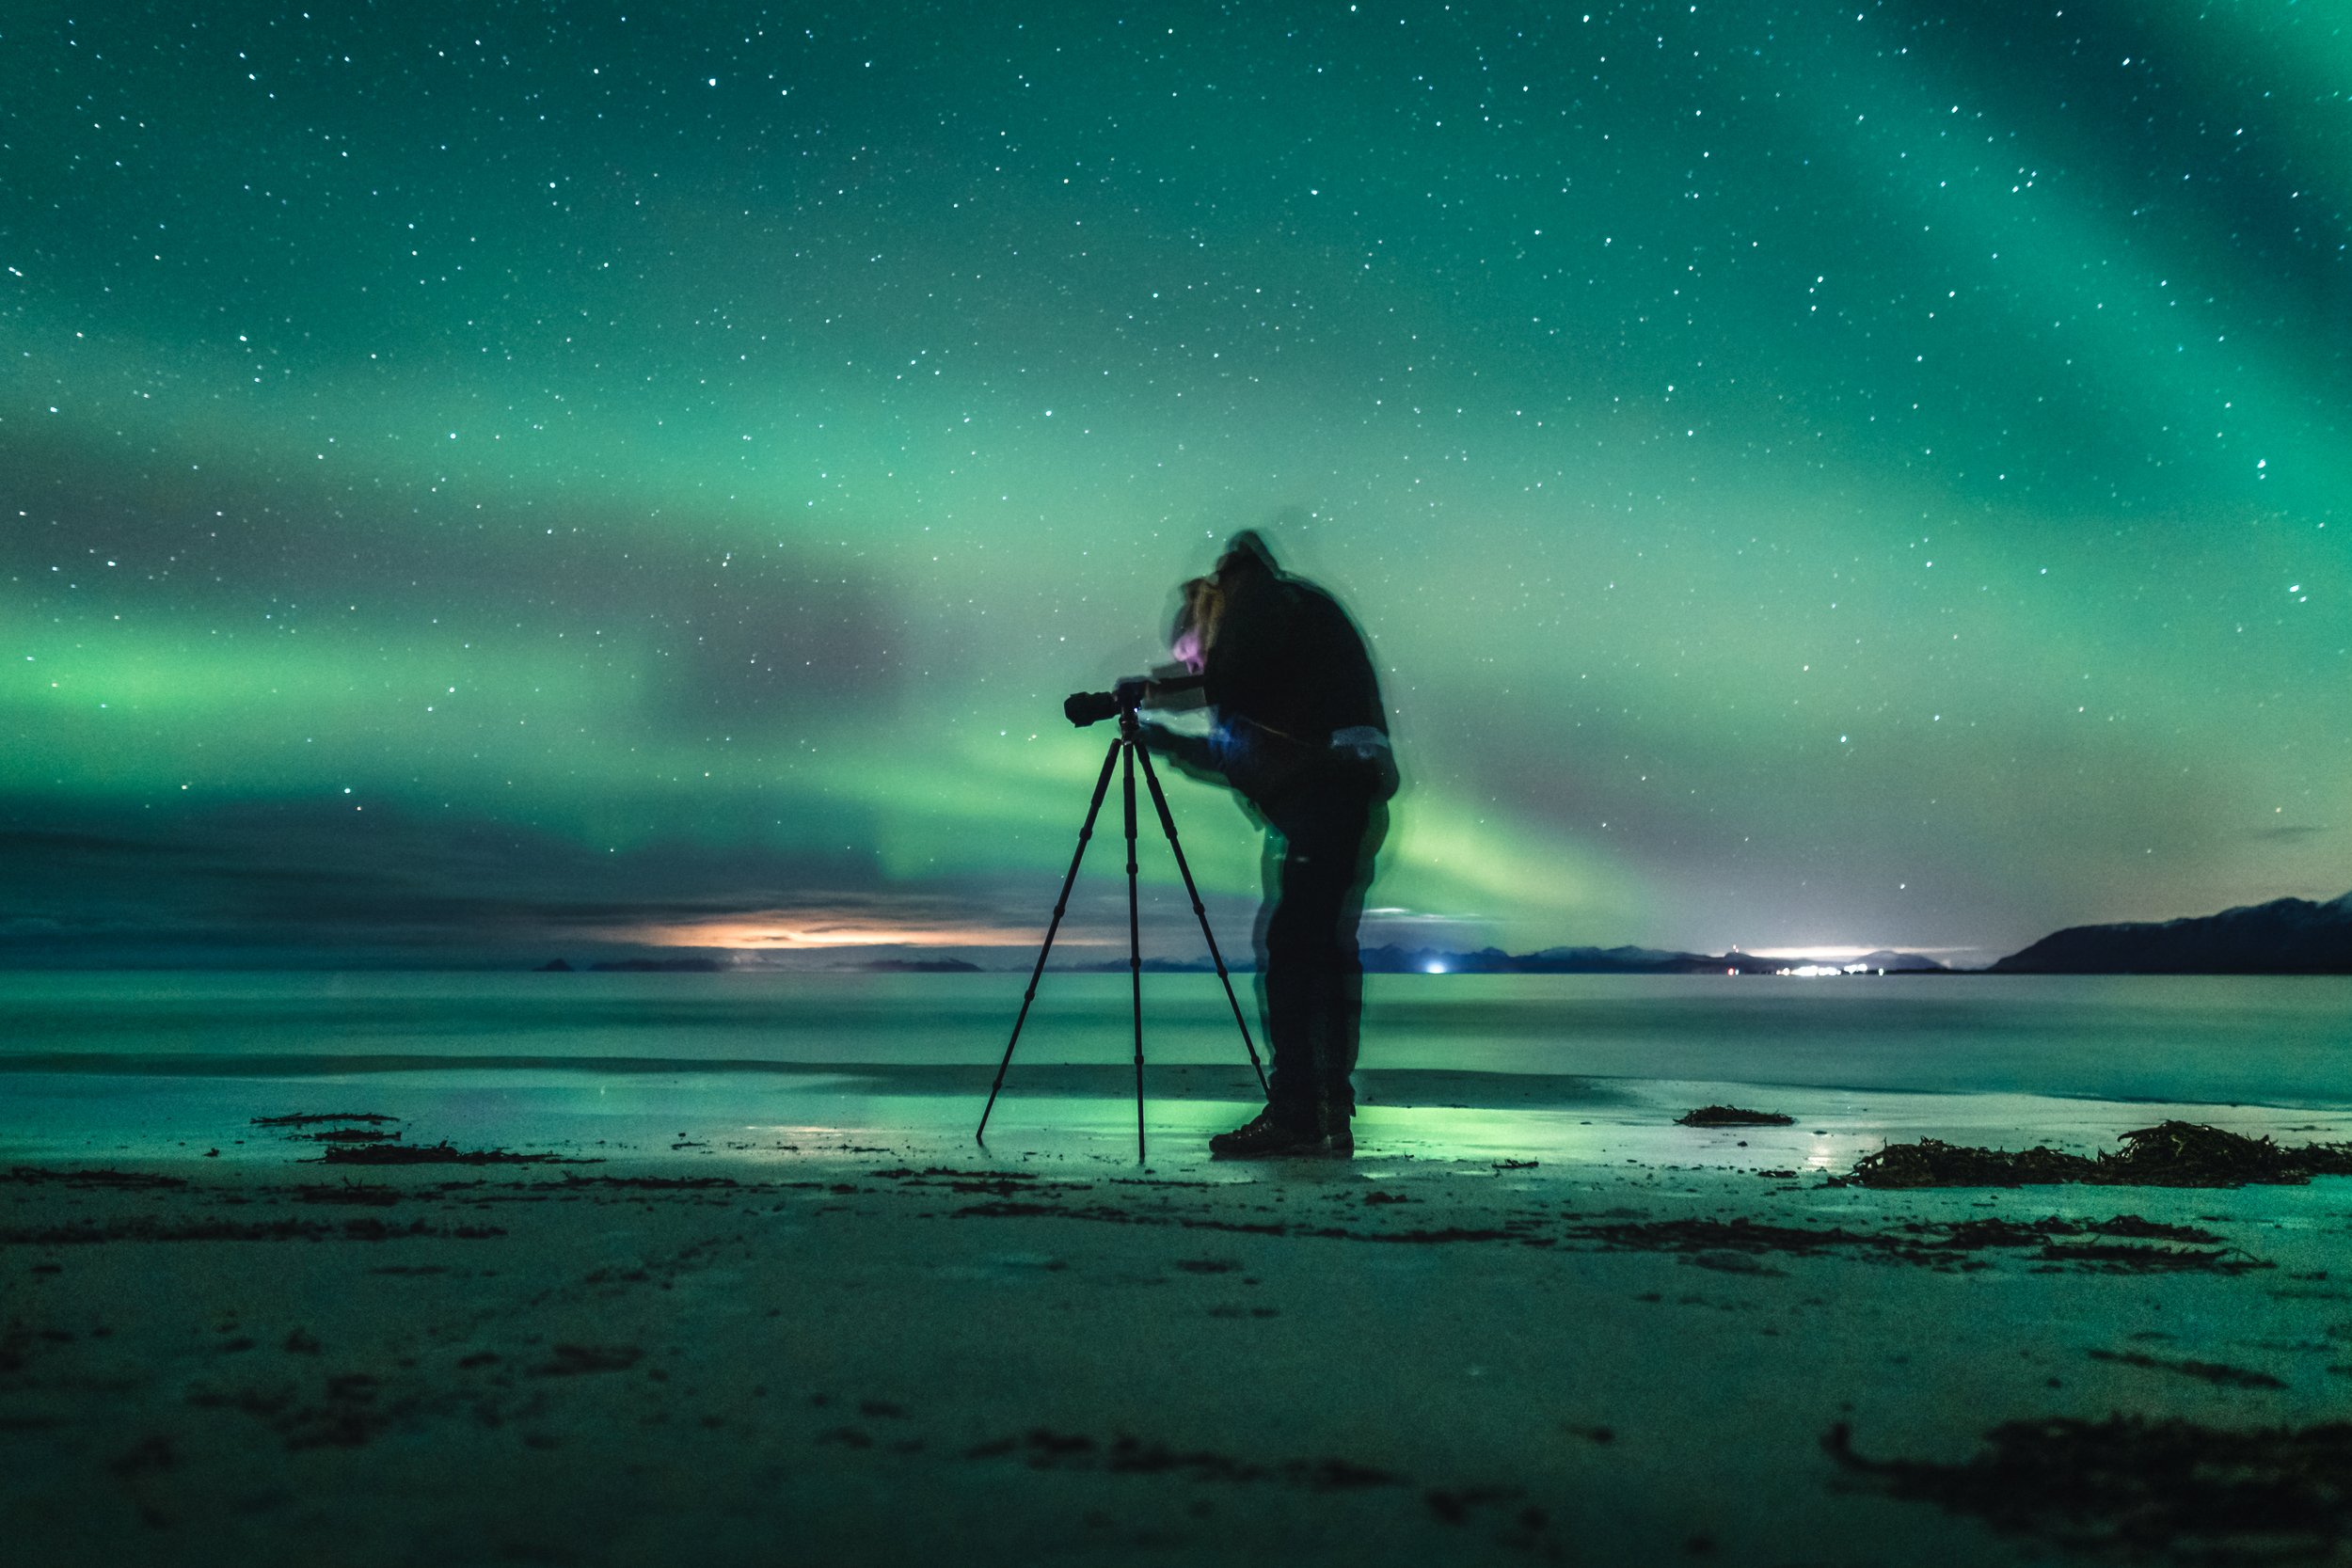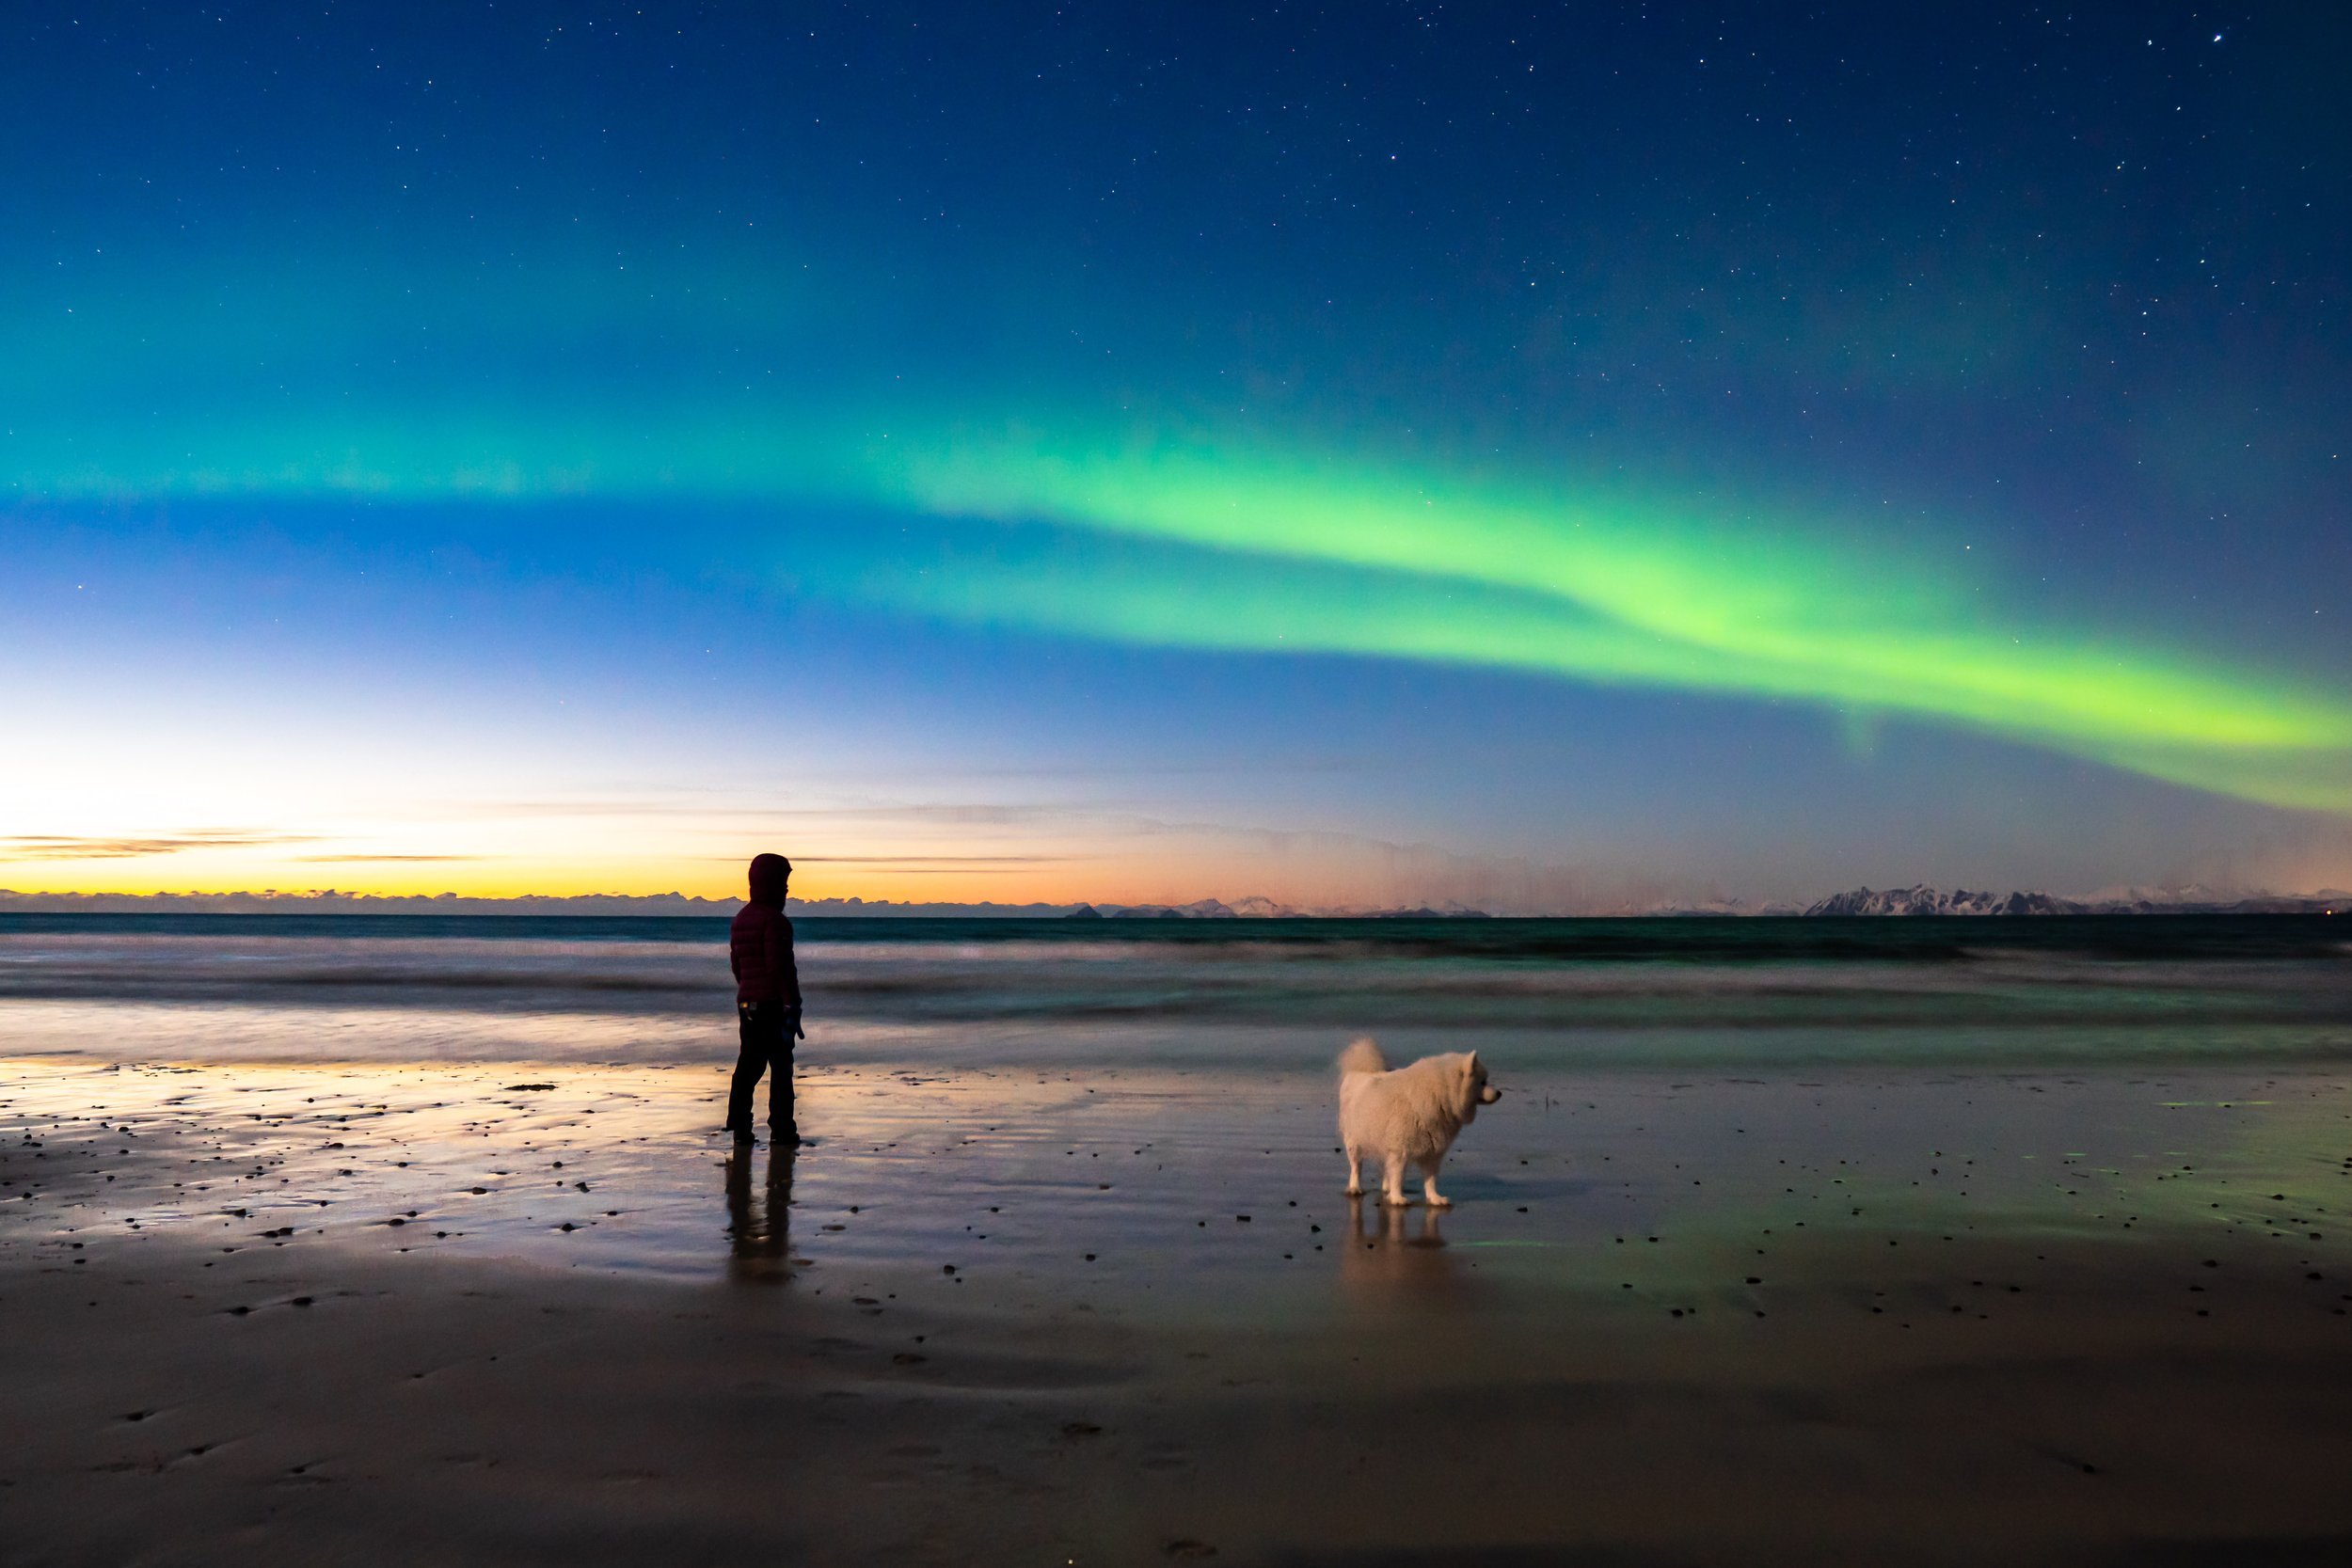
Photographing the Aurora Borealis
Capturing the Ethereal Beauty: Photographing the Aurora Borealis
The Aurora Borealis, also known as the Northern Lights, presents a captivating spectacle in the night sky. Its dancing colors and ethereal glow have fascinated humans for centuries. Photographing this natural wonder requires a combination of patience, preparation, and technical know-how. Here are some tips to help you capture the beauty of the Aurora Borealis:
1. Find the Ideal Location - Dark skies
Selecting the right location is crucial for capturing breathtaking images of the Aurora Borealis. Seek areas with remote, dark skies away from light pollution. Higher latitudes, such as northern Scandinavia, Iceland, or Alaska, offer a higher chance of witnessing this celestial phenomenon. Check out the light pollution map below our local area on the islands.
2. Check the Aurora Forecast
Before planning your photography expedition, monitor the aurora forecast. Websites and mobile apps dedicated to space weather provide real-time data on solar activity and the likelihood of auroral displays. When the forecast predicts high aurora activity, plan your trip accordingly. Below are some links to websites I use when heading out for and aurora hunting mission.
Websites -
https://www.spaceweatherlive.com/en/auroral-activity.html - Space weather useful data.
https://aurorainfo.eu/aurora-alerts/ - Data and webcameras on one page
Live aurora web cameras -
https://aurorainfo.eu/aurora-live-cameras/ Use these as a heads up if aurora is being seen in other locations. Cameras located north and south of Lofoten.
Phone apps
https://hello-aurora.com/ Hello aurora. Has the data you need in way which is easy to understand. Top tip! This app has real time user notifications of aurora sightings and strength rating. Very useful and my go to app.
https://clearoutside.com/forecast/68.23/14.56 Clear ouside - PC and app. Great to see the local cloud cover and moon phases.
https://www.windy.com/. Windy.com. the best for all round forecast, wind, rain, snow etc. Great to use along side other aurora data.
3. Opt for Clear Nights with Minimal Moonlight
A dark, clear sky is essential for photographing the Aurora Borealis. Pay attention to the moon phase, as bright moonlight may hinder the visibility of the Northern Lights. Aim to shoot during the new moon phase or when the moon is below the horizon. Moonlight does affect how well you can witness the aurora but don’t worry to much as I personally love having moonlight as it can help with exposing the foregrounds of your images.
4. Choose the Right Gear
Here is the recommended gear for capturing the Aurora Borealis:
Camera: Use a DSLR or mirrorless camera capable of manual mode settings.
Wide-angle lens: A lens with a focal length between 14mm and 35mm is ideal for capturing the vastness of the aurora.
Tripod: A sturdy tripod is necessary to keep your camera stable during long exposures.
Remote shutter release: Using a remote shutter release or self-timer minimizes camera shake.
My set up
My current setup:
Sony A7s & Sony 14mm f1.8 GM. I use this with a rotator/slider for capturing timelapses.
Sony a6400 & Sigma 14mm f1.8. This I use mainly for still images while I let the the other camera do its thing.
Both cameras are set on tripods and I use an dummy battery for both so I don’t have to worry about the battery life in the cold. I also have a lens heater for nights where the could be condensation or a chance of the lens freezing over. The dummy battery is plugged into a USB power bank that’s kept in and insulated sleeve. If the nights are very cold then I will add a heat pad or similar.
Top tip! Remember to bring warm clothes and hot drinks to make it comfortable. Nothing worse than an stunning display happening and your freezing.
5. Camera Settings and how photograph the aurora
To photograph the Aurora Borealis, set your camera to manual mode and adjust the following settings:
Aperture: Set it to the widest possible opening (typically f/2.8 or lower if possible) to collect more light.
ISO: Start with a moderate ISO setting (around 800-1600 - on my Sony a6400 and 800- 6400 on my sony a7s), adjusting it as needed to capture the desired brightness. Check you are not over exposing the highlights and blowing them out. Its better to protect this detail and increasing the exposure in post-production
Shutter Speed: Experiment with long exposures, typically between 1-30 seconds, to capture the movement of the lights. Your shutter will also depend on how quickly the aurora is moving and its intensity.
1-5 seconds for corona, overhead, bright and moving very quickly
5-15 seconds for bands and pillars that are still pretty bright
15-30 seconds for slow moving and calmer aurora such as arcs and diffuse glow. Experiment and be prepared to change this settings if activity grows.
Lenses and focal length: I would say as wide as possible. Somewhere from 14mm to 24mm is ideal as you want to capture as much of the sky as you can. At times the aurora can fill the sky and you be looking all over the sky. If you have longer lenses such as a 50mm bring this as it will give you options and you can pick up some amazing images with aurora peaking over the mountains for exmple.


